Unveiling the Wonders of Science: Fun Experiments with Everyday Objects
Related Articles: Unveiling the Wonders of Science: Fun Experiments with Everyday Objects
Introduction
With enthusiasm, let’s navigate through the intriguing topic related to Unveiling the Wonders of Science: Fun Experiments with Everyday Objects. Let’s weave interesting information and offer fresh perspectives to the readers.
Table of Content
Unveiling the Wonders of Science: Fun Experiments with Everyday Objects

Science is not confined to sterile laboratories and expensive equipment. It thrives in the everyday, hidden within the familiar objects that populate our homes. Transforming ordinary items into tools for exploration can ignite curiosity and spark a love for learning, especially in young minds. These simple experiments, using readily available materials, offer a gateway to understanding fundamental scientific principles, fostering critical thinking, and cultivating a sense of wonder about the world around us.
The Magic of Density: A Layered Liquid Landscape
One of the most visually captivating and accessible experiments involves the concept of density. Density is a measure of how much mass is packed into a given volume. Different liquids have different densities, allowing them to layer themselves in a mesmerizing display.
Materials:
- Clear glass or jar
- Honey
- Dish soap
- Water
- Vegetable oil
- Food coloring (optional)
Procedure:
- Carefully pour honey into the glass, filling about one-third of its volume.
- Add a few drops of food coloring to the water, if desired.
- Gently pour the colored water on top of the honey, ensuring the layers do not mix.
- Add a layer of dish soap, followed by a layer of vegetable oil.
- Observe the distinct layers that form, with honey at the bottom, followed by water, dish soap, and finally, oil at the top.
Explanation:
Honey is the densest liquid, followed by water, dish soap, and oil. The denser liquids settle at the bottom, while the less dense liquids float on top. This experiment demonstrates the concept of density and the fascinating interplay of forces that govern the behavior of liquids.
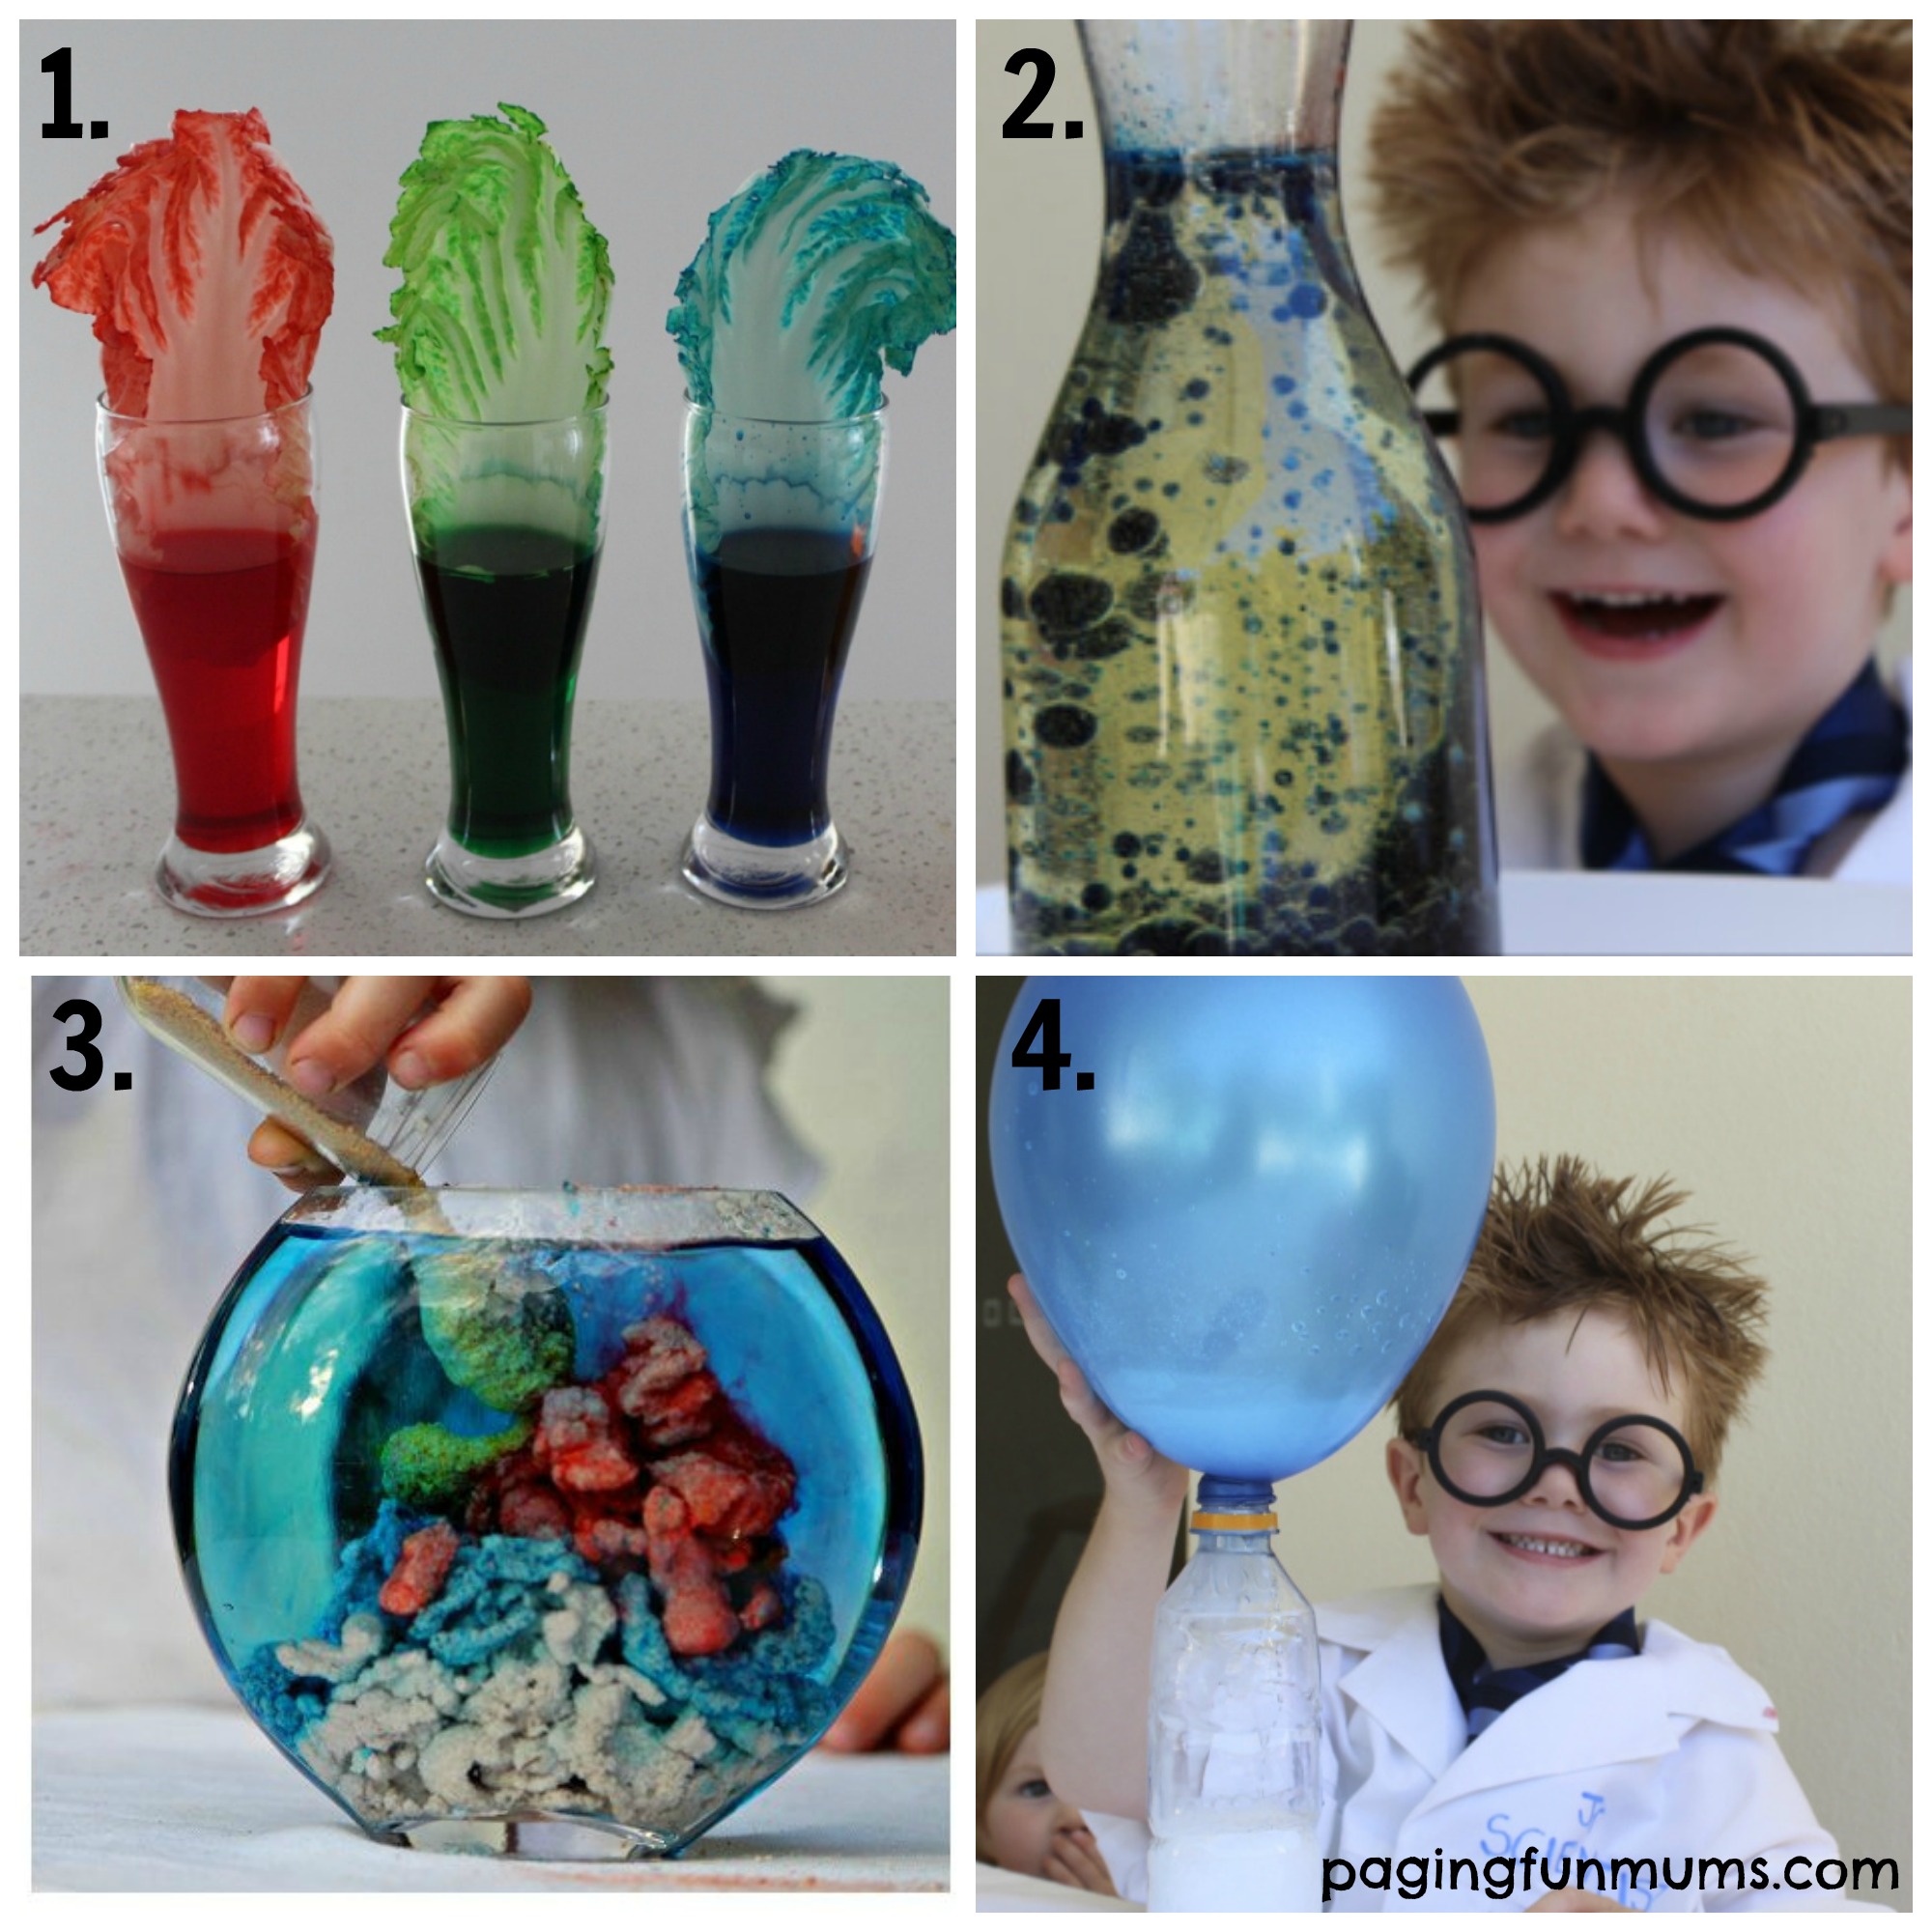
The Power of Air Pressure: A Balloon in a Bottle
Another engaging experiment explores the power of air pressure, a force that surrounds us but is often invisible. This experiment demonstrates how air pressure can create a vacuum, pulling objects inward.
Materials:
- Empty plastic bottle (with a narrow neck)
- Balloon
- Matches or a lighter
Procedure:
- Inflate the balloon slightly and stretch the opening over the neck of the bottle.
- Carefully light a match or lighter and drop it into the bottle.
- Quickly place the balloon-covered neck over the bottle’s opening.
- Observe the balloon inflate as the flame burns out, drawing air from the bottle.
Explanation:
The heat from the flame causes the air inside the bottle to expand. As the flame extinguishes, the air inside the bottle cools, contracting and creating a lower pressure inside. The higher pressure outside the bottle pushes against the balloon, forcing it to inflate.
The Science of Sound Waves: A Homemade Instrument
Music is a testament to the power of sound waves, and creating a simple instrument can provide a hands-on understanding of how these waves travel and create different sounds.
Materials:
- Empty cardboard tube (from paper towels or wrapping paper)
- Rubber band
- Scissors
Procedure:
- Cut a small hole near the center of the cardboard tube, ensuring the hole is large enough for the rubber band to pass through.
- Thread the rubber band through the hole and tie the ends together, creating a loop.
- Stretch the rubber band tightly across the opening of the tube.
- Pluck the rubber band to create a sound. Experiment with different rubber band thicknesses and stretching tensions to observe the variation in sound.
Explanation:
When the rubber band is plucked, it vibrates, creating sound waves. The tightness of the rubber band determines the frequency of the vibrations, which in turn affects the pitch of the sound. This experiment showcases the relationship between vibration, sound waves, and pitch.
The Magic of Magnetism: A Compass from Scratch
Magnetism is a force that exerts an invisible pull or push on certain materials. This experiment demonstrates how to create a simple compass using readily available materials.
Materials:
- A small bar magnet
- A needle
- A cork
- A bowl of water
Procedure:
- Carefully magnetize the needle by rubbing it repeatedly against the bar magnet in one direction.
- Push the needle through the cork, ensuring the needle is balanced horizontally.
- Float the cork with the needle in the bowl of water.
- Observe the needle align itself with the Earth’s magnetic field, pointing towards the north.
Explanation:
The Earth itself acts as a giant magnet, generating a magnetic field. The magnetized needle aligns itself with this field, pointing towards the magnetic north. This simple experiment introduces the concept of magnetism and its influence on objects.
The Wonders of Static Electricity: A Balloon Experiment
Static electricity is a build-up of electrical charges on the surface of an object. This experiment demonstrates how static electricity can attract and repel objects.
Materials:
- Balloon
- Wool or synthetic fabric
- Small pieces of paper
Procedure:
- Inflate the balloon and rub it vigorously against the wool or synthetic fabric.
- Hold the balloon near the pieces of paper and observe the paper being attracted to the balloon.
- Touch the balloon to a metal object and observe the paper falling away.
Explanation:
Rubbing the balloon against the fabric creates a build-up of static charges on the balloon’s surface. These charges attract the paper, causing it to stick to the balloon. Touching the balloon to a metal object discharges the static electricity, causing the paper to fall away.
Exploring Chemical Reactions: Baking Soda and Vinegar Volcano
Chemical reactions involve the breaking and forming of bonds between atoms and molecules. This experiment demonstrates a classic chemical reaction, producing a fizzy eruption.
Materials:
- Baking soda
- Vinegar
- Empty plastic bottle
- Cardboard or construction paper
- Modeling clay
Procedure:
- Construct a volcano shape around the bottle using cardboard or construction paper.
- Secure the volcano shape around the bottle using modeling clay.
- Pour a small amount of baking soda into the bottle.
- Slowly pour vinegar into the bottle and observe the eruption of foam.
Explanation:
Baking soda (sodium bicarbonate) and vinegar (acetic acid) react to produce carbon dioxide gas. This gas creates the fizzy eruption, mimicking a volcanic eruption. This experiment introduces the concept of chemical reactions and the production of gas as a product.
The Intriguing World of Optics: A Pinhole Camera
Optics is the study of light and its behavior. This experiment demonstrates the basic principles of how light travels through a small opening to create an image.
Materials:
- Cardboard box
- Aluminum foil
- A pin or needle
- White paper or a piece of tracing paper
Procedure:
- Cut a square hole in one side of the cardboard box, ensuring the hole is slightly larger than the size of the pin or needle.
- Cover the hole with aluminum foil.
- Using the pin or needle, carefully puncture a tiny hole in the center of the aluminum foil.
- Tape a piece of white paper or tracing paper to the opposite side of the box from the pinhole.
- Hold the box facing a bright object, such as a window or a light bulb.
- Observe an inverted image of the object projected onto the paper inside the box.
Explanation:
Light travels in straight lines. When light from the object passes through the pinhole, it forms a cone of light that projects an inverted image onto the paper inside the box. This simple experiment introduces the concepts of light, light travel, and image formation.
FAQs about Fun Experiments with Household Items:
Q: What are the benefits of conducting these experiments?
A: These experiments offer a hands-on learning experience, fostering critical thinking, problem-solving skills, and a deeper understanding of scientific principles. They also encourage curiosity, creativity, and a sense of wonder about the world around us.
Q: Are these experiments safe for children?
A: Most of these experiments are safe for children with adult supervision. However, it is essential to carefully read the instructions and supervise children closely, particularly when using sharp objects, heat, or chemicals.
Q: Can I modify these experiments?
A: Absolutely! Encouraging experimentation and exploration is key to learning. Modifying these experiments by changing materials, procedures, or variables can lead to new discoveries and insights.
Tips for Fun Experiments with Household Items:
- Start simple: Begin with experiments that use readily available materials and are easy to execute.
- Focus on the process: Encourage exploration and observation, allowing children to discover the "why" behind the experiment.
- Make it fun: Involve children in the process of gathering materials, setting up the experiment, and recording their observations.
- Connect to real-world applications: Discuss how the scientific principles learned through these experiments apply to everyday life.
- Encourage questions: Foster a culture of inquiry and encourage children to ask questions and explore further.
Conclusion:
Fun experiments with household items provide a powerful avenue for learning, igniting curiosity, and fostering a love for science. By transforming everyday objects into tools for exploration, we can unlock a world of wonder and discovery, nurturing a generation of critical thinkers and lifelong learners. These experiments are not just about performing tasks but about understanding the underlying principles that govern our world, paving the way for a deeper appreciation of science and its impact on our lives.


Closure
Thus, we hope this article has provided valuable insights into Unveiling the Wonders of Science: Fun Experiments with Everyday Objects. We hope you find this article informative and beneficial. See you in our next article!