The Art of Crafting Your Own Vaping Experience: A Comprehensive Guide to Homemade E-Liquid
Related Articles: The Art of Crafting Your Own Vaping Experience: A Comprehensive Guide to Homemade E-Liquid
Introduction
With enthusiasm, let’s navigate through the intriguing topic related to The Art of Crafting Your Own Vaping Experience: A Comprehensive Guide to Homemade E-Liquid. Let’s weave interesting information and offer fresh perspectives to the readers.
Table of Content
The Art of Crafting Your Own Vaping Experience: A Comprehensive Guide to Homemade E-Liquid
The world of vaping has seen a surge in popularity, with individuals seeking alternatives to traditional tobacco products. This has led to a growing interest in creating personalized vaping experiences, and one avenue for this is through the crafting of homemade e-liquid. While commercially available e-liquids offer a wide array of flavors and nicotine strengths, there’s a certain appeal to the DIY approach, allowing vapers to fine-tune their experience to their exact preferences.
This article aims to provide a comprehensive guide to the process of creating homemade e-liquid, delving into the essential ingredients, equipment, and techniques involved. It will also explore the benefits and considerations associated with this endeavor, addressing common questions and offering tips for success.
Understanding the Ingredients:
Homemade e-liquid is essentially a blend of four key ingredients:
-
Base Liquid: This is the foundation of the e-liquid, typically a mixture of propylene glycol (PG) and vegetable glycerin (VG). PG provides a "throat hit" sensation and better flavor delivery, while VG produces larger vapor clouds and a smoother experience. The ratio of PG to VG can be adjusted to achieve desired characteristics.
-
Nicotine: This is an optional ingredient for those who desire a nicotine hit. Nicotine is available in various strengths, and the concentration should be carefully chosen based on individual needs and preferences.
-
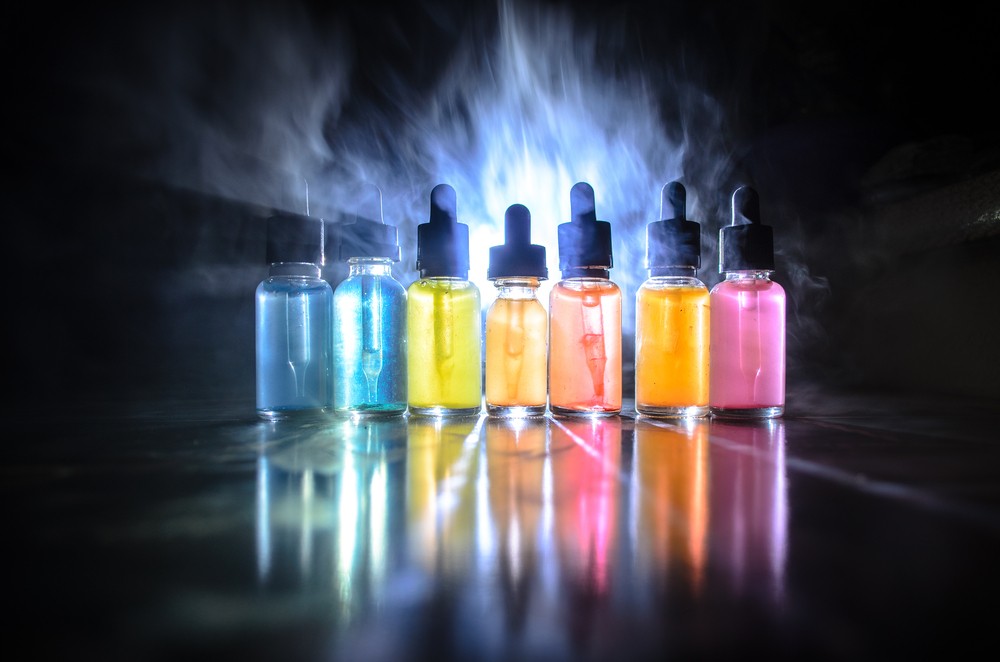
Flavorings: These are the heart and soul of the e-liquid, responsible for adding the desired taste. Flavorings come in a wide variety of options, ranging from classic tobacco and fruity notes to more complex and unique profiles.
-
Water: While not always included, some recipes may call for a small amount of water to help dissolve certain flavorings.
Essential Equipment for Homemade E-Liquid:
Creating your own e-liquid requires a few basic tools and equipment:
-
Scales: Precise measurements are crucial for achieving desired ratios and consistency in the e-liquid. A digital scale with a readability of at least 0.1 grams is recommended.
-
Graduated Cylinders or Measuring Cups: These are essential for measuring liquid volumes accurately, particularly for base liquid and nicotine solutions.
-
Bottles and Containers: Glass or plastic bottles with tight-fitting lids are necessary for storing and mixing the e-liquid.
-
Syringes: Syringes with clear graduations are useful for precise measurements of nicotine and flavorings.
-
Stirring Tools: A small whisk or a glass stirring rod is helpful for thoroughly mixing the ingredients.
-
Safety Gear: It is essential to use gloves, safety goggles, and a well-ventilated area when handling nicotine, as it can be toxic if ingested or absorbed through the skin.
The Process of Creating Homemade E-Liquid:
-
Calculate the Recipe: Determine the desired PG/VG ratio, nicotine strength, and flavor profile. Several online calculators and resources are available to assist in calculating the exact quantities of each ingredient.
-
Prepare the Base Liquid: Measure out the desired amounts of PG and VG using graduated cylinders or measuring cups. Combine them in a clean bottle.
-
Add Nicotine (Optional): If using nicotine, carefully measure the required amount using a syringe and add it to the base liquid. Always handle nicotine with caution and ensure proper ventilation.
-
Introduce Flavorings: Measure out the desired amount of each flavoring using a syringe and add them to the base liquid.
-
Mix Thoroughly: Shake or stir the mixture vigorously to ensure all ingredients are evenly distributed.
-
Steep the E-Liquid: After mixing, the e-liquid needs to steep for a period of time to allow the flavors to fully develop. This process typically takes anywhere from a few days to a few weeks, depending on the flavor profile.
-
Test and Adjust: Once the e-liquid has steeped, it’s time to test it and make any necessary adjustments. If the flavor is too weak, more flavoring can be added. If the nicotine strength is not satisfactory, it can be adjusted by adding more nicotine or diluting the mixture with more base liquid.
Benefits of Creating Homemade E-Liquid:
-
Customization: The ability to tailor the e-liquid to your specific preferences, such as nicotine strength, flavor profile, and PG/VG ratio, is a significant advantage of DIY e-liquid creation.
-
Cost Savings: While initial investments in equipment and ingredients are required, creating your own e-liquid can be significantly cheaper than purchasing commercially available options, particularly for those who vape frequently.
-
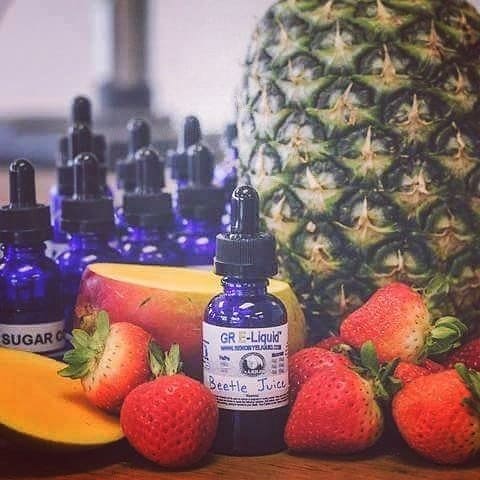
Flavor Variety: The world of e-liquid flavorings is vast and ever-expanding, offering a limitless range of possibilities for experimentation and discovering new tastes.
-
Control over Ingredients: By creating your own e-liquid, you have complete control over the ingredients used, ensuring that you are only consuming products that align with your preferences and health concerns.
Considerations and Precautions:
-
Safety First: Always prioritize safety when working with nicotine and flavorings. Wear gloves and safety goggles, and ensure proper ventilation.
-
Ingredient Quality: The quality of the ingredients used directly impacts the taste and safety of the e-liquid. Choose reputable suppliers for PG, VG, nicotine, and flavorings.
-
Nicotine Strength: Start with a lower nicotine strength and gradually increase it as needed. Never exceed your tolerance level, as it can lead to adverse effects.
-
Storage: Store homemade e-liquid in a cool, dark place to prevent degradation and flavor changes.
Frequently Asked Questions (FAQs) about Homemade E-Liquid:
Q: How long does homemade e-liquid last?
A: Properly stored homemade e-liquid can last for several months to a year. However, it’s best to check the expiration dates of the ingredients and use the e-liquid within a reasonable timeframe.
Q: Can I use food-grade flavorings for homemade e-liquid?
A: While some food-grade flavorings may be suitable for vaping, it’s crucial to ensure they are specifically designed for e-liquid use. Some food-grade flavorings contain ingredients that can be harmful when inhaled.
Q: What are the health risks associated with vaping?
A: While vaping is often considered less harmful than traditional smoking, it’s important to be aware of potential health risks, including lung damage, heart problems, and addiction. Always consult with a healthcare professional if you have any concerns.
Q: How do I know if my homemade e-liquid is safe?
A: Use high-quality ingredients from reputable suppliers, always follow safety precautions, and consult with a healthcare professional if you have any concerns about the safety of your homemade e-liquid.
Tips for Success in Creating Homemade E-Liquid:
-
Start Small: Begin with simple recipes and gradually experiment with more complex flavor profiles as you gain experience.
-
Use a Recipe Calculator: Online calculators can help you accurately determine the quantities of each ingredient based on your desired PG/VG ratio, nicotine strength, and flavor profile.
-
Steep Properly: Allow the e-liquid to steep for the recommended time to ensure the flavors fully develop.
-
Taste Test Regularly: Throughout the steeping process, taste test the e-liquid to monitor flavor development and make any necessary adjustments.
-
Keep Notes: Record your recipes and any adjustments made to help you replicate successful blends and avoid mistakes.
Conclusion:
Creating homemade e-liquid offers a unique and rewarding experience, allowing vapers to craft personalized blends that perfectly meet their preferences. By understanding the essential ingredients, equipment, and techniques involved, and by adhering to safety precautions, anyone can embark on this journey of flavor exploration. Remember to prioritize quality ingredients, proper storage, and ongoing experimentation to create delicious and satisfying homemade e-liquid.


Closure
Thus, we hope this article has provided valuable insights into The Art of Crafting Your Own Vaping Experience: A Comprehensive Guide to Homemade E-Liquid. We hope you find this article informative and beneficial. See you in our next article!