Restoring the Shine: A Guide to Polishing Silver at Home
Related Articles: Restoring the Shine: A Guide to Polishing Silver at Home
Introduction
In this auspicious occasion, we are delighted to delve into the intriguing topic related to Restoring the Shine: A Guide to Polishing Silver at Home. Let’s weave interesting information and offer fresh perspectives to the readers.
Table of Content
- 1 Related Articles: Restoring the Shine: A Guide to Polishing Silver at Home
- 2 Introduction
- 3 Restoring the Shine: A Guide to Polishing Silver at Home
- 3.1 Understanding the Science of Silver Tarnishing
- 3.2 The Power of Natural Ingredients: Home Remedies for Silver Polishing
- 3.3 Tips for Preventing Silver Tarnishing
- 3.4 FAQs on Home Remedies for Silver Polishing
- 3.5 Conclusion
- 4 Closure
Restoring the Shine: A Guide to Polishing Silver at Home

Silver, a precious metal known for its lustrous beauty, is susceptible to tarnishing over time. This phenomenon, caused by the reaction of silver with sulfur in the air, creates a dull, grayish film that obscures its natural brilliance. While professional cleaning services exist, restoring the shine of silver can be achieved effectively and economically through simple home remedies. These methods, relying on readily available ingredients and techniques, offer a safe and environmentally friendly alternative to commercial products.
Understanding the Science of Silver Tarnishing
Silver tarnishing is a chemical reaction, a process of oxidation. When silver comes into contact with sulfur-containing compounds present in the air, a chemical reaction occurs, forming silver sulfide, the dark substance responsible for the tarnish. This process is accelerated by factors such as humidity, exposure to acidic environments, and proximity to materials containing sulfur, like rubber or eggs.
The Power of Natural Ingredients: Home Remedies for Silver Polishing
Numerous natural ingredients possess the ability to remove tarnish from silver without resorting to harsh chemicals. These methods utilize the principles of abrasion, chemical reaction, or a combination of both to effectively restore the shine of silver.
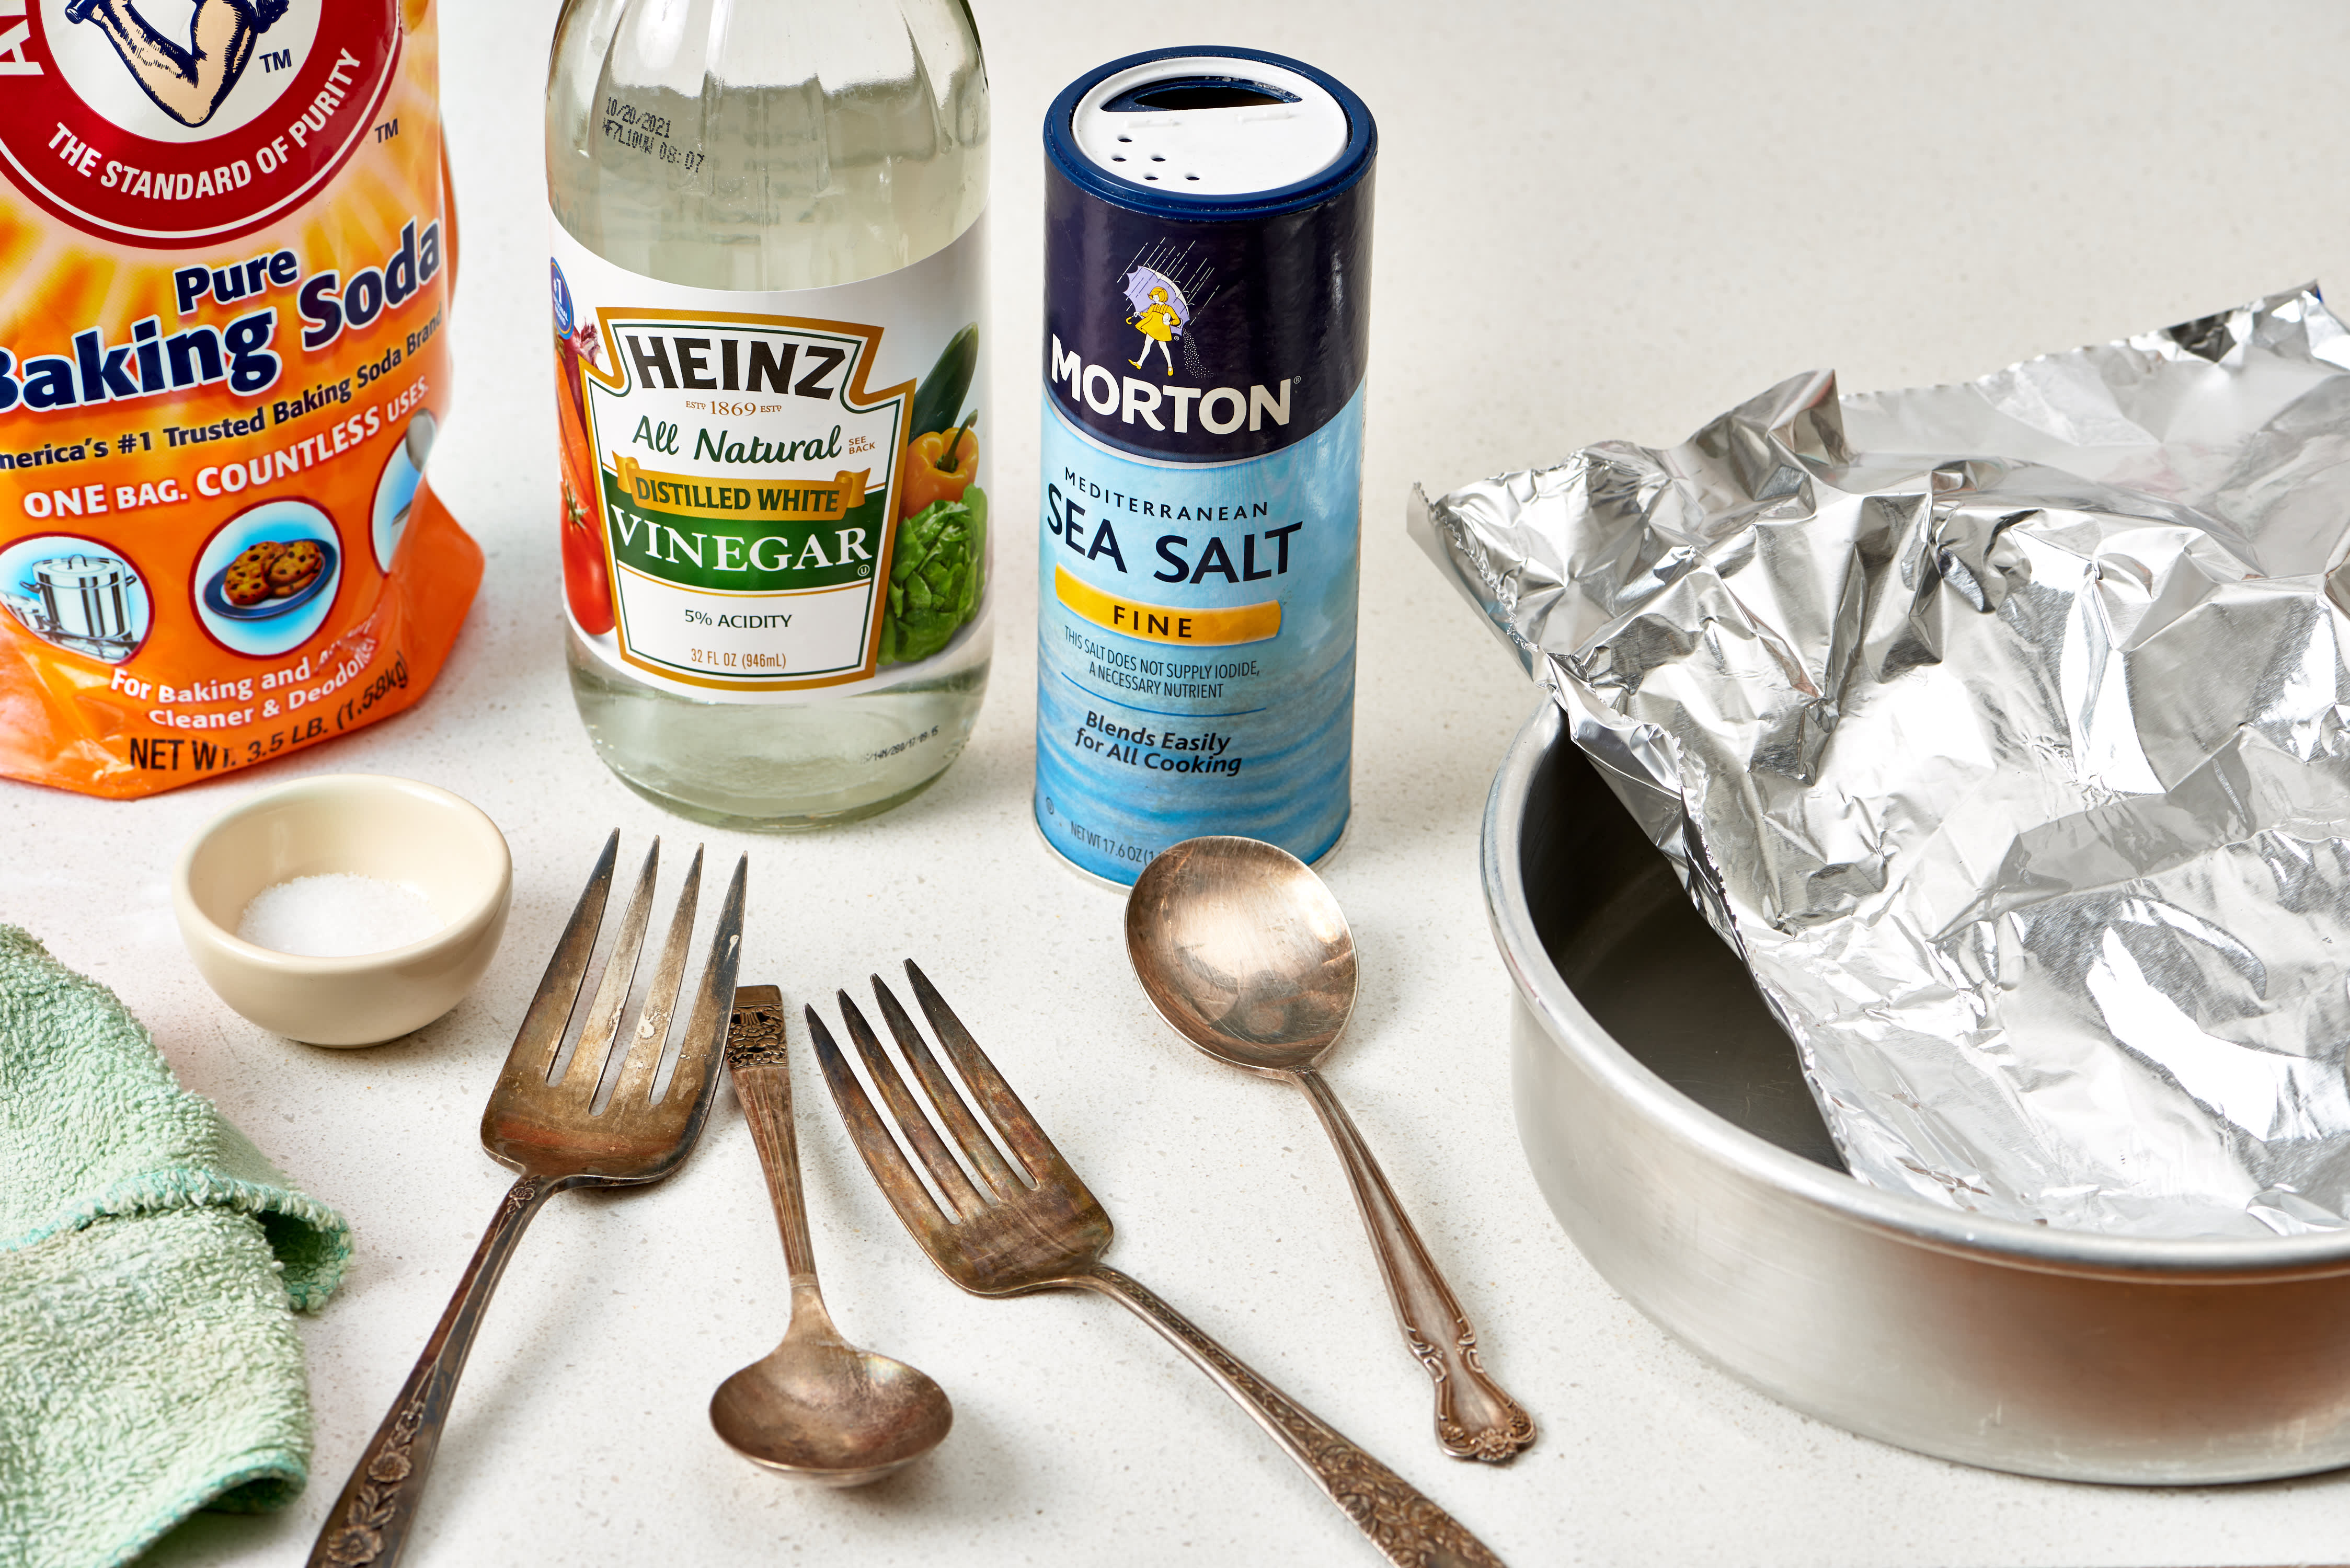
1. Baking Soda and Aluminum Foil: A Classic Combination
This method leverages the chemical reaction between aluminum foil and baking soda to effectively remove tarnish.
-
Procedure:
- Line a non-reactive container, such as a glass or ceramic bowl, with aluminum foil.
- Fill the container with hot water, ensuring the foil is fully submerged.
- Add a generous amount of baking soda, stirring until it dissolves.
- Gently place the silver items in the solution, ensuring they are fully immersed.
- Allow the silver to soak for 15-30 minutes, depending on the severity of the tarnish.
- Remove the silver items and rinse them thoroughly with water.
- Dry them immediately with a soft cloth to prevent water spots.
-
Explanation:
- The aluminum foil acts as a catalyst, transferring electrons to the silver sulfide, effectively breaking it down.
- The baking soda acts as a mild abrasive, helping to remove the loosened tarnish.
2. White Vinegar and Salt: A Gentle Approach
This method relies on the acidic properties of white vinegar to dissolve the tarnish, while salt acts as an abrasive agent.
-
Procedure:
- In a non-reactive container, combine equal parts white vinegar and salt.
- Gently rub the mixture onto the silver with a soft cloth.
- Allow the mixture to sit for a few minutes, then rinse the silver thoroughly with water.
- Dry the silver immediately with a soft cloth.
-
Explanation:
- The acetic acid in vinegar reacts with the silver sulfide, dissolving it and removing the tarnish.
- The salt acts as a mild abrasive, assisting in the removal of the loosened tarnish.
3. Lemon Juice and Salt: A Simple and Effective Solution
This method utilizes the citric acid in lemon juice to break down the tarnish, while salt acts as an abrasive agent.
-
Procedure:
- Cut a lemon in half and sprinkle salt onto the cut surface.
- Rub the lemon half onto the silver, applying gentle pressure.
- Allow the mixture to sit for a few minutes, then rinse the silver thoroughly with water.
- Dry the silver immediately with a soft cloth.
-
Explanation:
- The citric acid in lemon juice reacts with the silver sulfide, dissolving it and removing the tarnish.
- The salt acts as a mild abrasive, assisting in the removal of the loosened tarnish.
4. Toothpaste: A Convenient Option
This method utilizes the abrasive properties of toothpaste to remove tarnish.
-
Procedure:
- Apply a small amount of non-gel toothpaste to a soft cloth.
- Gently rub the toothpaste onto the silver, applying circular motions.
- Rinse the silver thoroughly with water.
- Dry the silver immediately with a soft cloth.
-
Explanation:
- The abrasive particles in toothpaste physically remove the tarnish from the silver surface.
5. Olive Oil and Baking Soda: A Protective Polish
This method combines the cleaning power of baking soda with the protective properties of olive oil.
-
Procedure:
- In a small bowl, mix a tablespoon of baking soda with a few drops of olive oil.
- Apply the mixture to the silver with a soft cloth.
- Gently rub the mixture onto the silver, applying circular motions.
- Rinse the silver thoroughly with water.
- Dry the silver immediately with a soft cloth.
-
Explanation:
- The baking soda acts as an abrasive, removing the tarnish.
- The olive oil leaves a protective layer on the silver, helping to prevent future tarnishing.
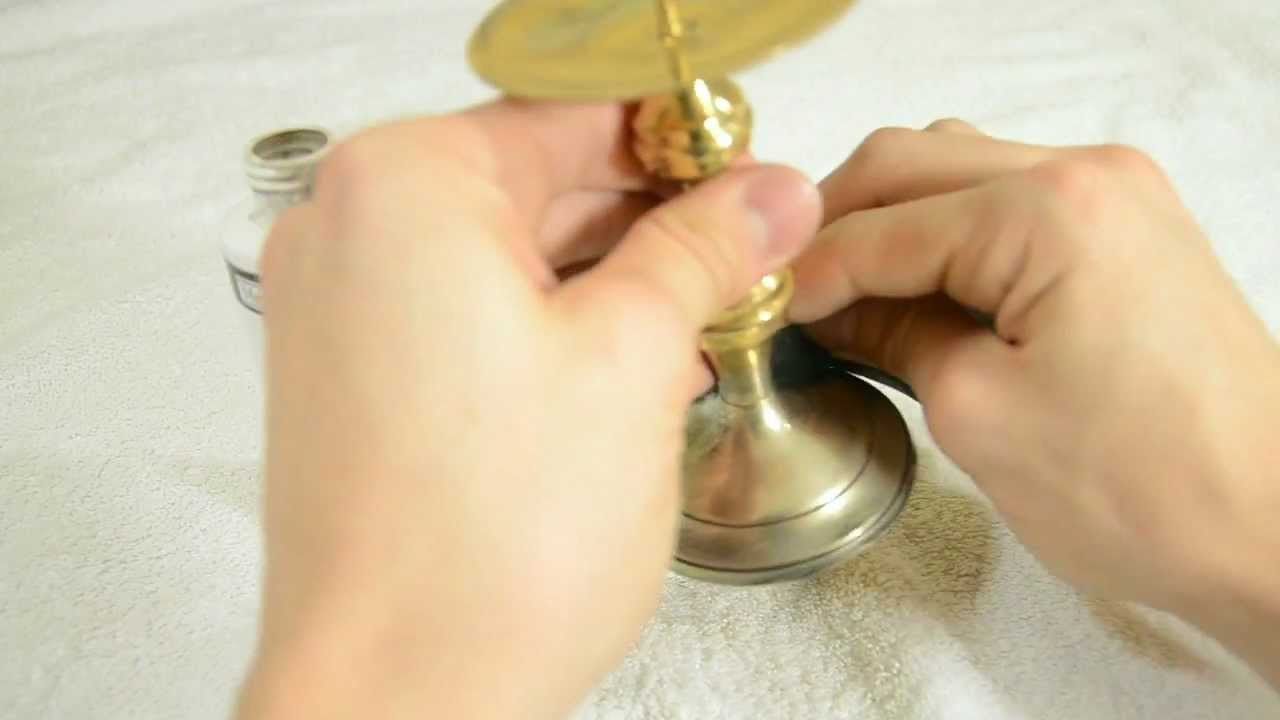
6. Commercial Silver Polish: A Quick and Easy Solution
While not a natural remedy, commercial silver polish offers a convenient and effective option for removing tarnish.
-
Procedure:
- Apply a small amount of silver polish to a soft cloth.
- Gently rub the polish onto the silver, following the manufacturer’s instructions.
- Rinse the silver thoroughly with water.
- Dry the silver immediately with a soft cloth.
-
Explanation:
- Commercial silver polish typically contains abrasive agents and chemicals that effectively remove tarnish.
Tips for Preventing Silver Tarnishing
While these home remedies effectively remove existing tarnish, preventing future tarnishing is crucial for maintaining the shine of your silver.
- Store silver properly: Store silver items in airtight containers or bags, lined with acid-free tissue paper. This prevents exposure to air and sulfur, minimizing the risk of tarnishing.
- Avoid contact with sulfur: Keep silver away from materials containing sulfur, such as rubber, eggs, and certain cleaning products.
- Clean silver regularly: Regularly cleaning silver with a soft cloth helps remove dust and fingerprints, preventing the buildup of tarnish.
- Consider using a silver polish: Applying a thin layer of silver polish can create a protective barrier, slowing down the tarnishing process.
FAQs on Home Remedies for Silver Polishing
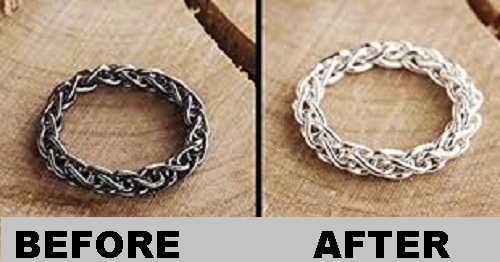
1. What if my silver items are heavily tarnished?
For heavily tarnished items, the baking soda and aluminum foil method or a commercial silver polish are typically more effective. However, always test the chosen method on a small, inconspicuous area first to ensure it does not damage the silver.
2. Can I use these methods on all silver items?
Most of these methods are safe for use on most silver items. However, it is advisable to avoid using abrasive methods on delicate or antique silver pieces.
3. How often should I polish my silver?
The frequency of polishing depends on the environment and the frequency of use. However, it is generally recommended to polish silver at least once a month to prevent the buildup of tarnish.
4. Are these methods safe for antique silver?
While these methods are generally safe for antique silver, it is crucial to use caution and avoid abrasive methods. If in doubt, consult a professional silver restorer.
5. What should I do if my silver items are damaged during polishing?
If you notice any damage to your silver items during polishing, stop immediately and consult a professional silver restorer.
Conclusion
Restoring the shine of silver is a simple and rewarding process. By utilizing these home remedies, you can effectively remove tarnish and preserve the beauty of your silver items. Remember to practice caution, test methods on a small area first, and consult a professional for antique or delicate pieces. With a little care and attention, your silver can retain its luster for years to come.


Closure
Thus, we hope this article has provided valuable insights into Restoring the Shine: A Guide to Polishing Silver at Home. We thank you for taking the time to read this article. See you in our next article!